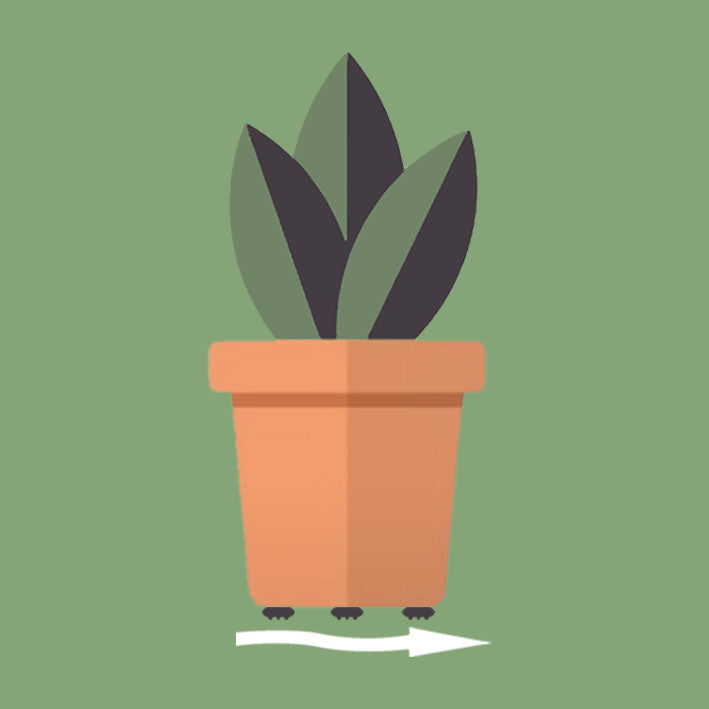

You lift a planter to tidy the deck. Underneath is a dark ring, some soil and a patch that has stayed damp. Sound familiar?
Autumn is a useful time to check both your pots and the surface beneath them. While you are moving planters anyway, you can prepare the empty ones for next season and give those staying outdoors a little space under their base.
1. Check what is underneath
Lift the pot carefully and remove loose leaves and soil. Get help with heavy planters and avoid dragging them across the surface. Check whether the ring is dirt and moisture or a change in the colour of the surface itself.
Not every mark has the same cause. Some are surface dirt; others reflect differences in wear or weather exposure. Pot feet will not remove existing marks. Their purpose is to reduce close contact between the pot base and the surface in future.

2. Clean gently and let the area dry
Follow the care instructions for your particular deck or patio, whether it is timber, composite, tiles or stone. Start gently and test cleaning methods on a small, inconspicuous area. Let the surface dry before assessing the result.
Aggressively treating one small patch can leave a visible difference from the surrounding area. Marks that remain may need something other than ordinary cleaning.
3. Give outdoor pots a clear drainage route
Check that drainage holes are open and that leaves or soil are not blocking the outlet. Pot feet raise the base slightly, allowing water to escape through open drainage holes and creating space beneath the pot.
This is useful during wet autumn weather. It does not make a pot frostproof or a plant winter-hardy, so continue to follow the care guidance for your particular plant and container.
4. Fit the feet while the pots are accessible
Emptying your pots and putting them away? This is a practical opportunity to clean the underside and fit pot feet before next season. For pots staying outdoors, do the same job before returning them to their usual place.
The attachment areas must be clean and dry. Tape may struggle to stick to a porous base. Our installation guide shows the nail polish trick: treat small attachment areas with clear nail polish or a suitable primer and let the coating dry completely before fitting the feet. Test on a hidden area first.
Space the feet so the pot stands securely and keep drainage holes clear. Smaller, lighter pots can use three feet; use four for larger pots. Always check stability before letting go.
Ready now, easier in spring
Fitting pot feet does not have to become another job on your spring list. Fit them during your autumn tidy-up and stored pots will be ready for next season. Pots that stay outside get that space beneath them straight away.
Count your pots as you tidy and get them ready while they are within reach. Explore Potteben and choose a pack for your planters.